When learning a craft, or setting a goal, it can be helpful to break down the process into several repeatable steps. Practicing scales, arpeggios, chord changes and etc… This is good, but it’s ultimately unsatisfying for the novice because it lacks the sense of achievement that you get from completing a project. Say… learning a song.
This is one reason that in addition to the “hard work” portions of the process, many newcomers to the guitar will learn “Blackbird” by the Beatles. This project will teach the student several skills- chord vocabulary, moving from position to position on the guitar, timing, among others.
As I make my way through down the path of becoming a woodworker (as an artist, not merely a hobbyist), I’ve been working to learn different steps. Yes, I’ve practiced planing boards to create perfect paper-thin curls of wood, yes, I’ve milled up planks into boards of even thickness and start to use the best diy guides from woodworking toolkit to learn to use the exact tools for each job or project. Here is my list and the order of projects I’ve added to my woodworking setlist.
Sanding and refinishing– As a child, my grandfather took me and my cousin Rusty out to sand, refinish and black the metal parts of various tools his father left at the cabin. It wasn’t very exciting at the beginning (we were hand sanding, no powertools needed), but by the end, we had restored some antiques and brought them to a beautiful working condition. *note: if you do this without asking, you may find you’ve reduced the value of someone’s antiques so please ask first if they’re not your own.
I definitely suggest taking something not too valuable, but well loved, sanding it and finishing it with some sort of beautiful finish like danish oil, tung oil or a wipe-on polyurethane (provided that’s appropriate to the intended use of the piece).
Monkey’s Fists– While not strictly-speaking a woodworking project, my dad taught me to use a pocket knife to whittle a ball to use as a center around which to build the monkey’s fist. This taught me to think about oversizing the initial sculpt and then continuing to remove. Learning to see what it will be when the not-ball portion is removed has helped in my ability to previsualize.round which
Presentation Boards– These are SO. MUCH. FUN. Not strictly-speaking cutting boards, the boards I make with my dad are made by jointing boards and then planing them to thickness before putting a bevel on the ends to match the feeling of the live edge. After this point, the boards are sanded down to 220 grit and/or scraped with a furniture scraper before being finished with a food-safe oil coat.
Canoe Restoration– Once in awhile, you attack a project SO freaking out of your league that you have to get outside help. Then, your outside help needs to get outside help. This is basically what happened when my dad and I decided to restore our 1970s Tremblay canoe. We did this with help from the generous guys over at the Wisconsin Canoe Heritage Museum. Jamie in particular helped us make up techniques and taught us things about respecting the wood that has come in handy in nearly every project I’ve done since 2013.
Scarf Joints
mortise and tenon joints
steaming wood
shaping wood with an angle grinder
bandsaw skills
basic planing and scraping
So much more…
Most recently, in the shop with Dan Gremillion I learned to make picture frames. This was a blast and it’s a perfect outgrowth from what I’ve learned making slab tables (basically large presentation boards).
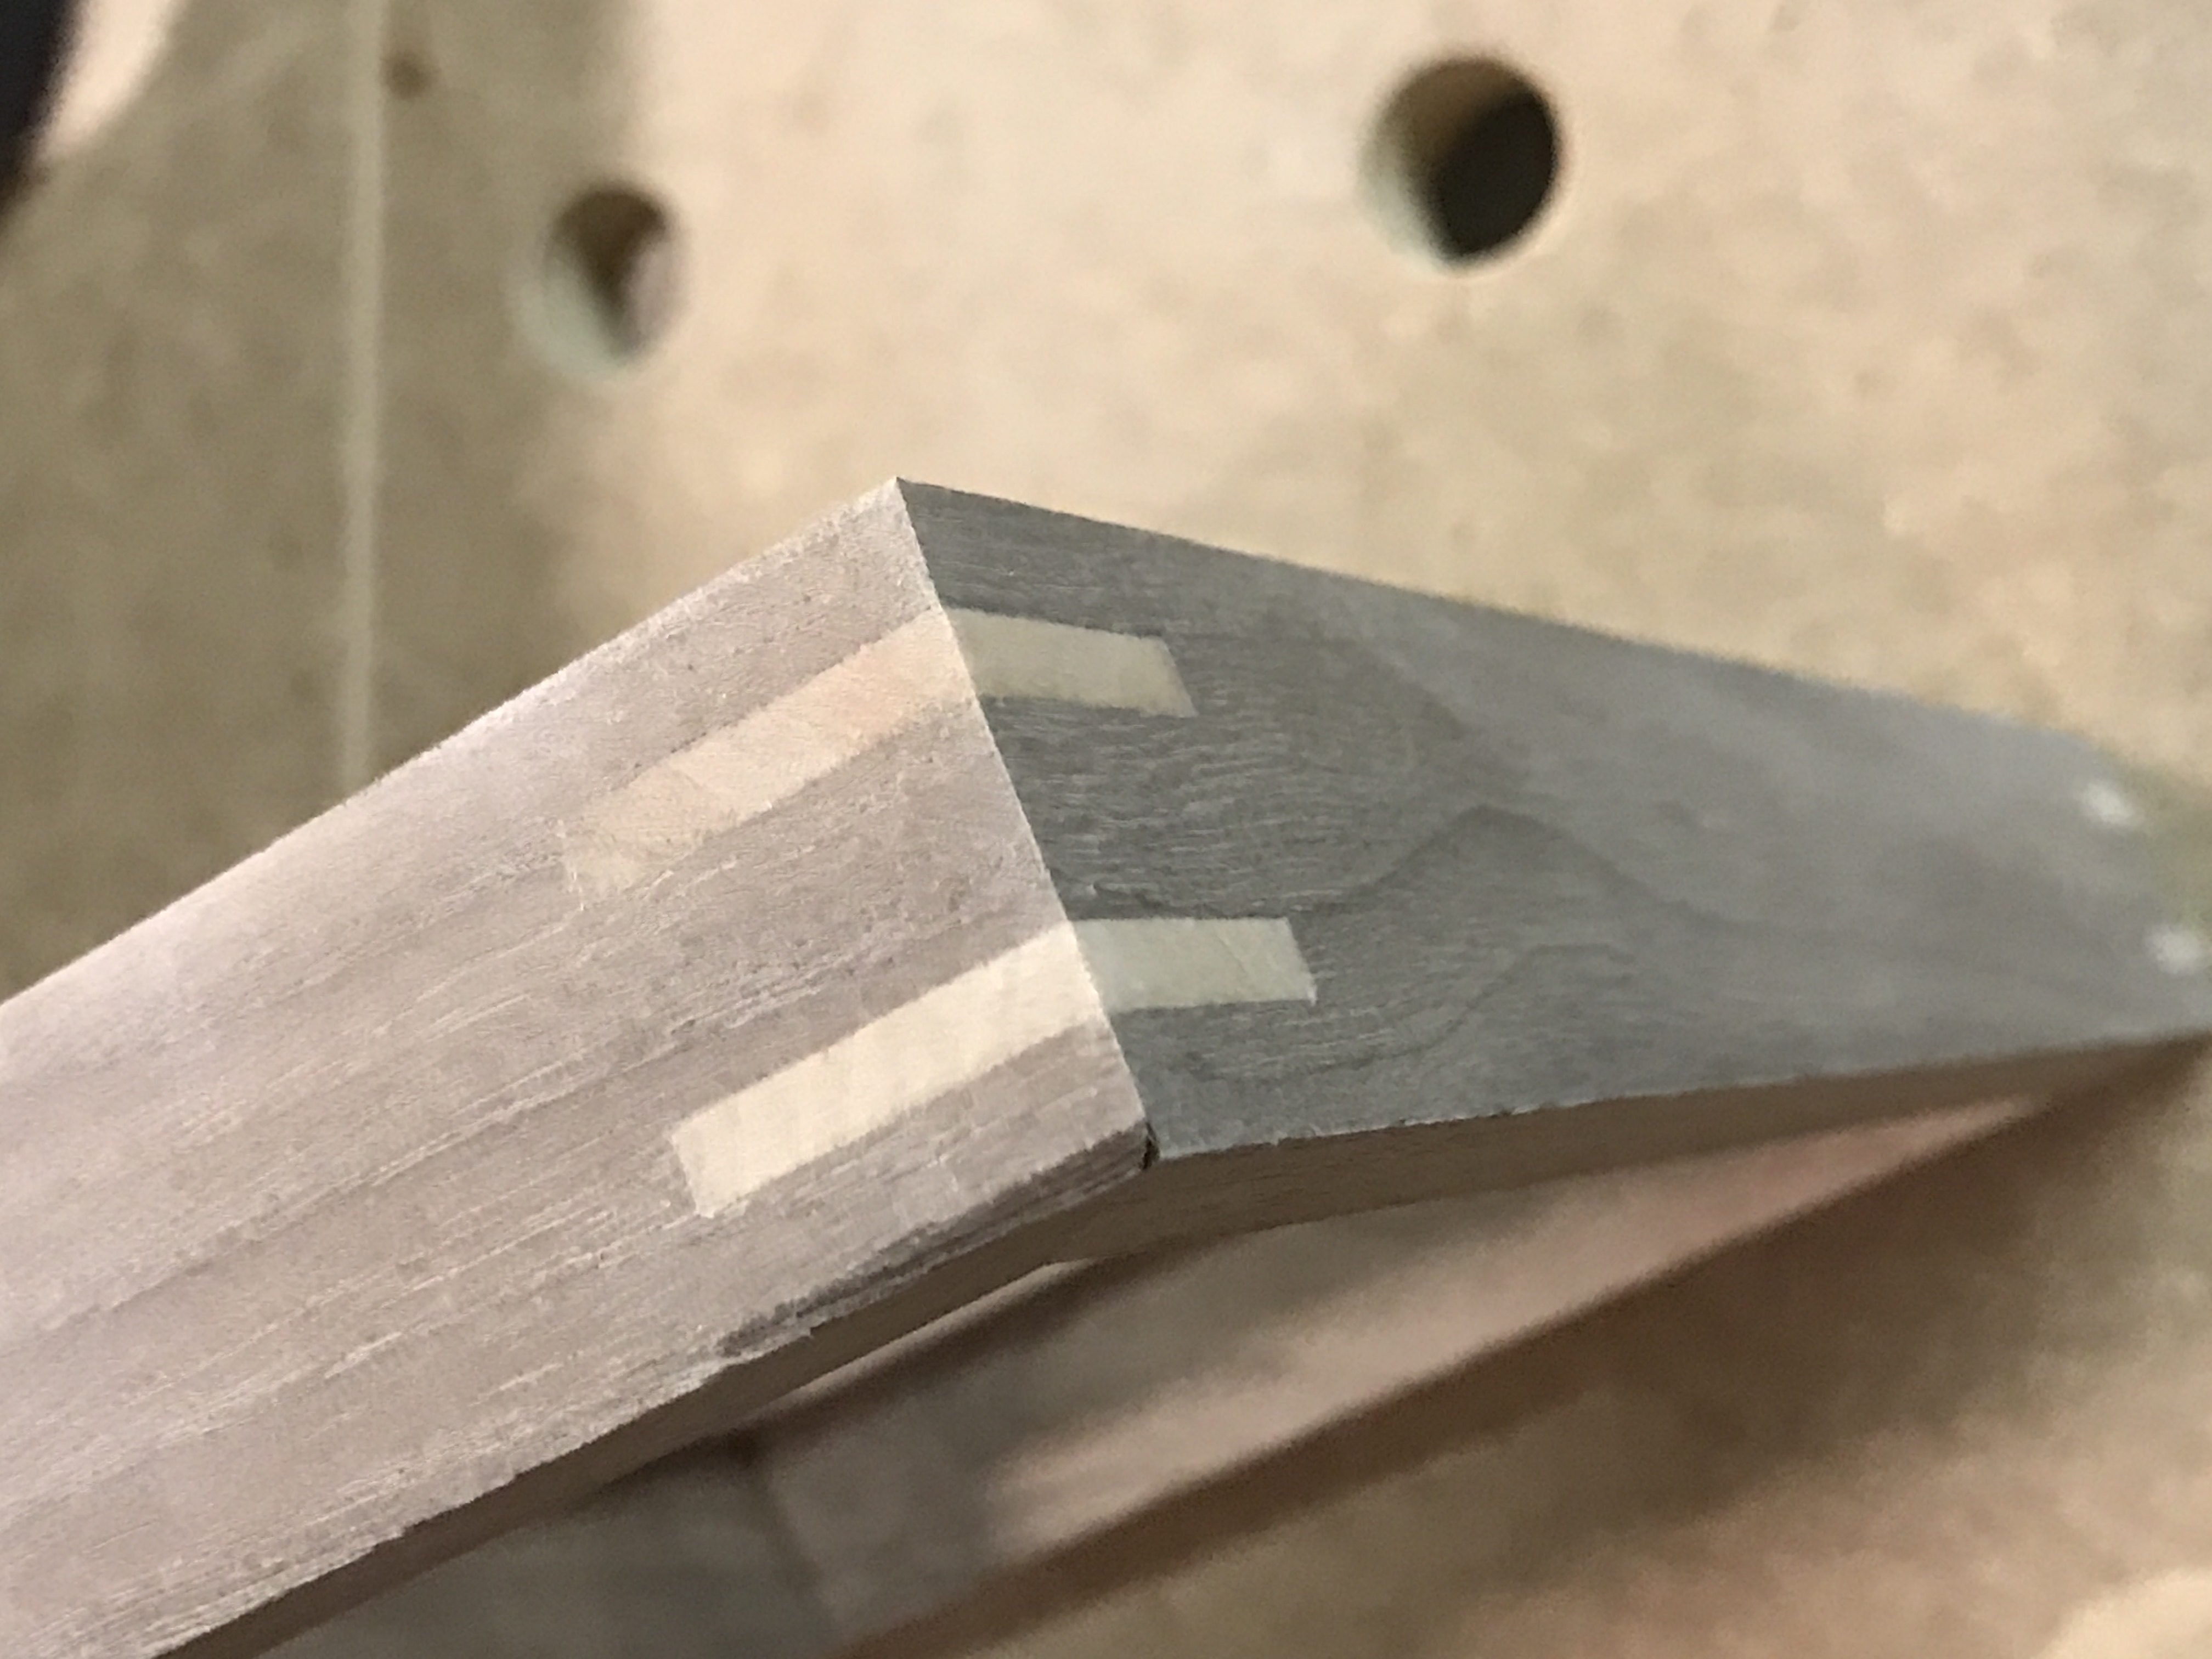
To make this one sing, we take our plank, joint it, rip it and plane it. Then when we have nice square stock (a surprising amount of woodworking is about making nice square stock and then making itNOT square….), we rip out a section, miter it and glue it up.

Afterward, we cut grooves in the corners with a table saw jig and glue pieces of either matching or contrasting (I usually like contrasting) wood to create a stronger joint than a simple mitered butt joint (gluing the angled edges together) would provide. You can also use a chainsaw, mine is out of work now as I need to buy a decent sharpener. I’ve already checked which chainsaw sharpener is best, but didn’t have time to order one.
Then we take a VERY sharp chisel and pare away (yes, the same pare as a paring knife, it’s like shaving, but thicker) the excess.

As usual, our final steps involve sanding to an appropriate silky smoothness and finishing with something like Tung Oil, Boiled Linseed Oil, or something similar.
The really cool thing once you get to this point in woodworking you can make a lot of things you’d want to. A chair, that’s presentation boards with legs stuck on. A tray? That’s a picture frame with an extra groove to hold a panel of wood instead of glass. A box, that’s a tray with a lid.
A dresser? That’s a complicated picture frame with legs on, that has trays that hold your stuff built in. See where I’m going?
In addition to loving the time you spend doing your art- if you’re not having fun being bad at it, you probably won’t have fun being good at it- you are building up a repertoire of things you can do. Little successes that will build up confidence so that when you want to take on a scary task, you can look at it, see what it’s made of and realize you’re made of what it takes to accomplish your task.
What “songs” or “projects” should a beginner use if they want to learn your art? What things can make them feel successful as they learn the riffs of the craft?

 Those of you who are familiar with the TV show Parks and Recreation will be familiar with Nick Offerman. He’s the actor who plays Ron Swanson mustachioed misanthrope who grudgingly gives advice and a listening ear while masticating meat.
